 Another way our lifestyle has been altered by getting plug-in cars (on top of downsizing our home, adding solar panels, getting electric lawn equipment, changing careers, etc…) is that we wanted to start growing our own produce. Bonnie and I have been concerned about pesticides and commercial farming for some time. Bonnie has dabbled in vegetable gardening, but with limited area to garden, she never grew very much.
I decided I’d like to change that, so I started looking for raised garden bed kits. I found an ad for a nice looking raised bed, made of cedar planks.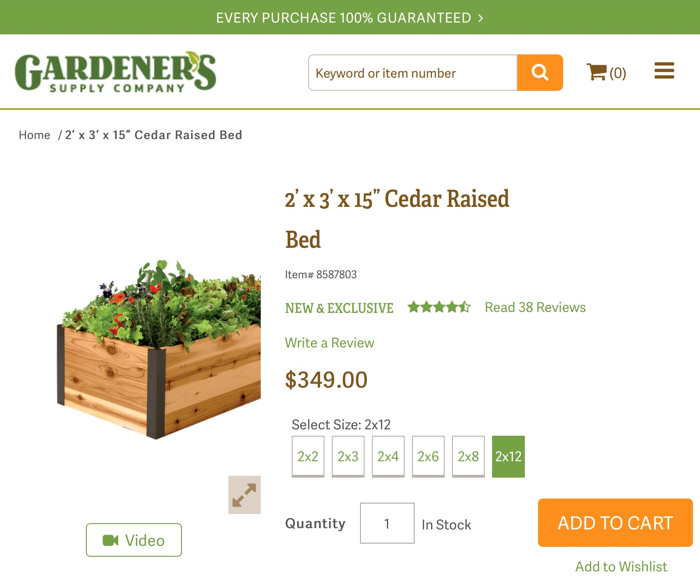 I knew I wanted to avoid stained or chemically treated wood, since those chemicals could leach into the soil and contaminate the food we were growing to avoid contamination. The kit came in various sizes and I immediately was drawn to the largest size offered: 12′ X 2′.
 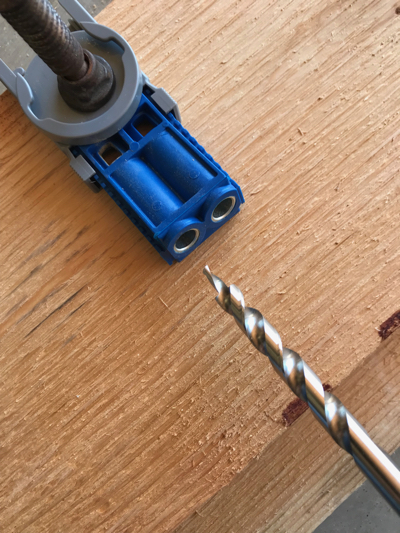 However, at $349, I wondered how much it would cost to build one from scratch. As it turned out, I could build TWO raised beds, each 50% larger (12′ X 3′) for about the same price. The side walls would be made of 2″ X 8″ planks, but I needed a way to join two of the planks to create a 16″ raised bed. Then I discovered Kreg Tools, on TV! Specifically, I found the Kreg Jig R3. Although the Kreg website showed the jig being used to create screw holes to join boards at a 90 degree angle to one another, I realized I could also use it to create a 2″ X 16″ plank from two 2″ X 8″ planks. Now I knew I could build the gardens myself!
 I laid the planks out in the garage and began drilling holes and joining boards into larger planks. The Kreg Jig worked great! Each garden required five 12′ long 2″ X 8″ boards, two for each long side and one, cut into four three foot sections for the two end walls. I realized the holes created by the Kreg jig should alternate from inside the box to outside the box, so as to make the walls as strong as possible. It also occurred to me that the holes, once drilled, should be oriented upward so they would not collect rainwater. (I thought about this project a lot, before starting work on it.)
The two end caps would be attached by screws going straight through them, into the side walls. I did not try to use the Kreg Jig for these holes. Here’s the first box I built: This was as far as I got the first Sunday, one week before Earth Day.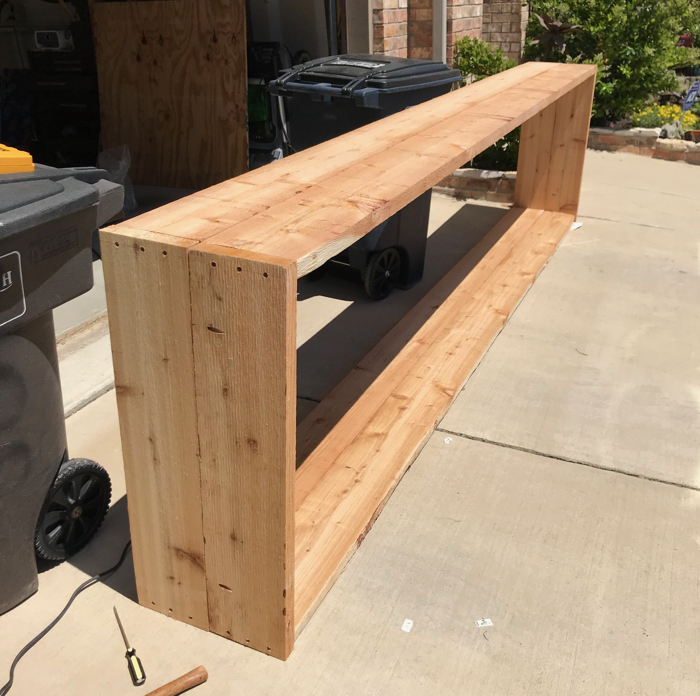
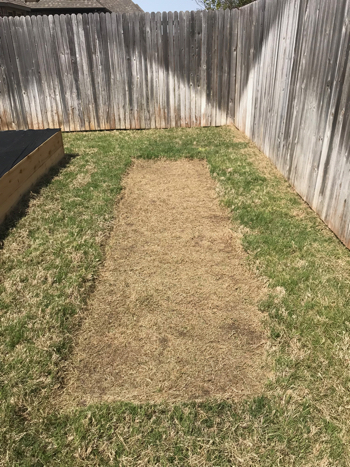 The following Wednesday was my day off, so I decided to build the second box, while Bonnie was at work. I also had my first rework. I decided to use my line trimmer to eliminate the grass, under the gardens, and attach black garden barrier cloth to the underside of each box, to prevent grass or weeds rising through the garden. (I know with 14″ of soil above the grass, it would have probably just died under all that dirt, but sometimes I can’t help myself.)
I trimmed an area around the base of the first box, to guide the removal of the existing grass and flipped it over, to add the barrier cloth to it as well. I then placed it where the second box would be located and used it as a trimming guide for the second box turf removal. 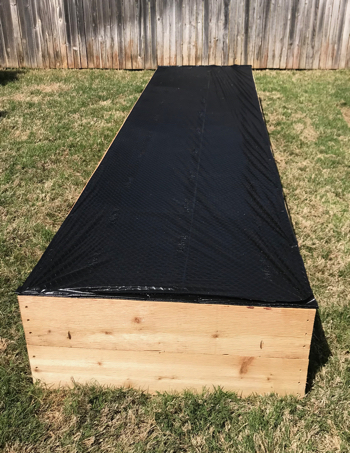 I then flipped it back to its original location and placed the second box, in its spot. Both the aisles between the first box and the back fence, as well as between the two boxes was a few inches larger than my lawnmower’s width, so I can keep the grass mowed in those narrow pathways. I also made a design change to the second box. Since Bonnie wasn’t going to be around to help me move it into position, I decided to add triangular braces, in the corners, so that the box wouldn’t flex at the corners, as I dragged it from the front yard, into position in the back yard.
Here they are in their final position at the end of Wednesday. You can barely see one of the corner braces on the left box in the far corner, at the bottom of the box.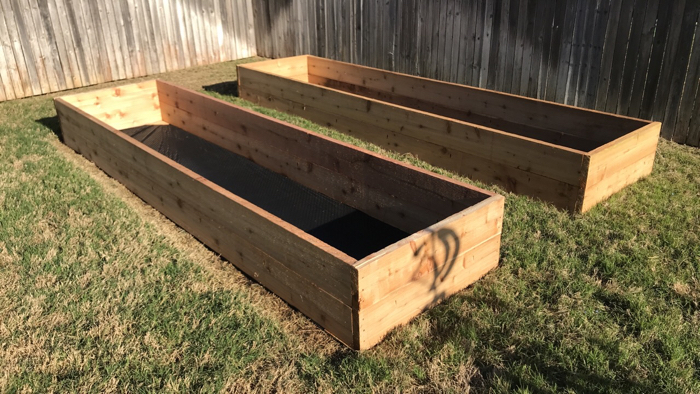
 It was at this point, I started getting concerned about the long 12 foot walls bowing outward, when we added the topsoil. I decided to add a single 2″x6″ board, near the middle of the 12 foot boards, with four screws (two going through the upper boards and two going through the lower boards of both sides). These boards were then covered by the topsoil, so they cannot be seen in the photos I took.
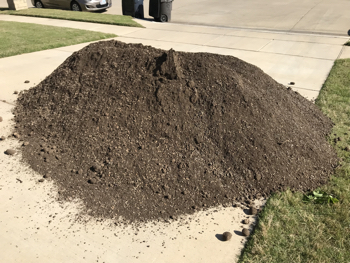
Next up was the earth for my Earth Day project. With guidance, we decided on a mixture of two cubic yards of topsoil, one yard compost and 1/2 yard of expanded shale (to absorb excess moisture, letting it back out, as the soil becomes dry). We looked around for soil providers and selected one we had driven past often, Alpine Materials, in Southlake They were very helpful and suggested the mix of soils. They delivered it the same Thursday I ordered it and dumped it on my driveway. Then, the work became grueling. Thankfully, Bonnie’s mom Ellie, helped level the dirt in the beds, so I could concentrate on being a pack mule.
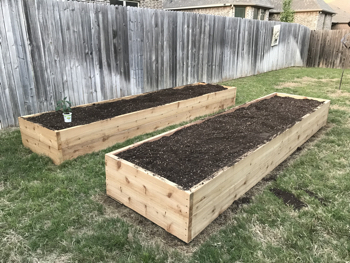
It took me from the time I got home from work, until sunset, to load the dirt into a wheelbarrow and dump it into the gardens. I had splinters in my hands, from the rough cedar boards and was totally spent at the end of this task. However, standing back and admiring my finished (I thought) work was quite satisfying.
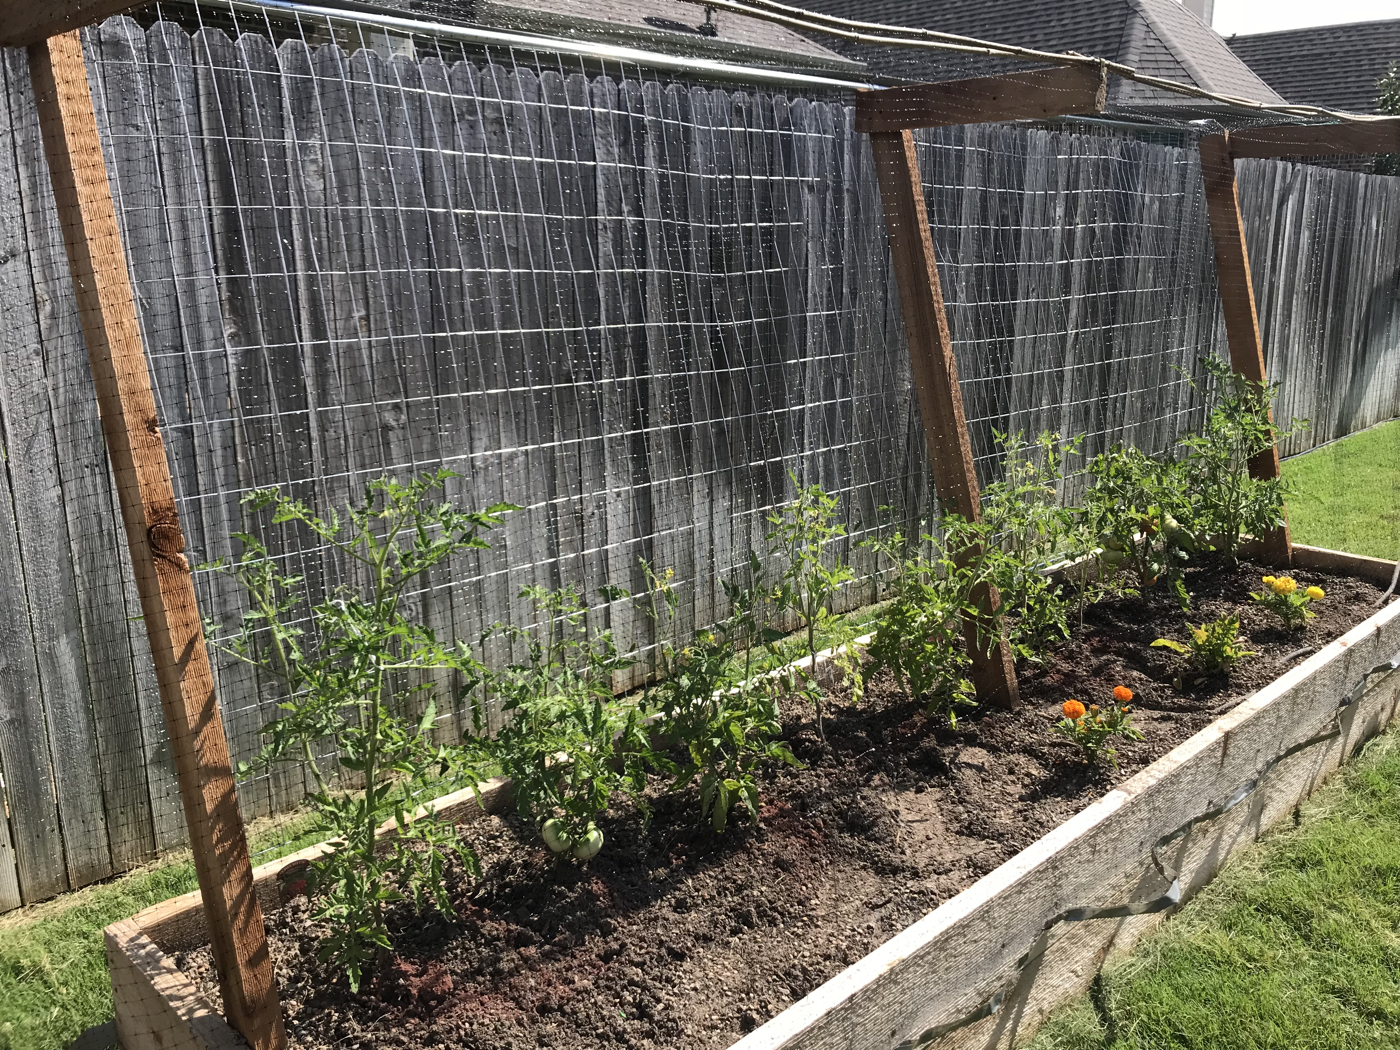
Saturday, while I was at work, Bonnie started buying plants for her gardens. Lots of types of tomatoes, including my favorite: beefsteak were purchased.
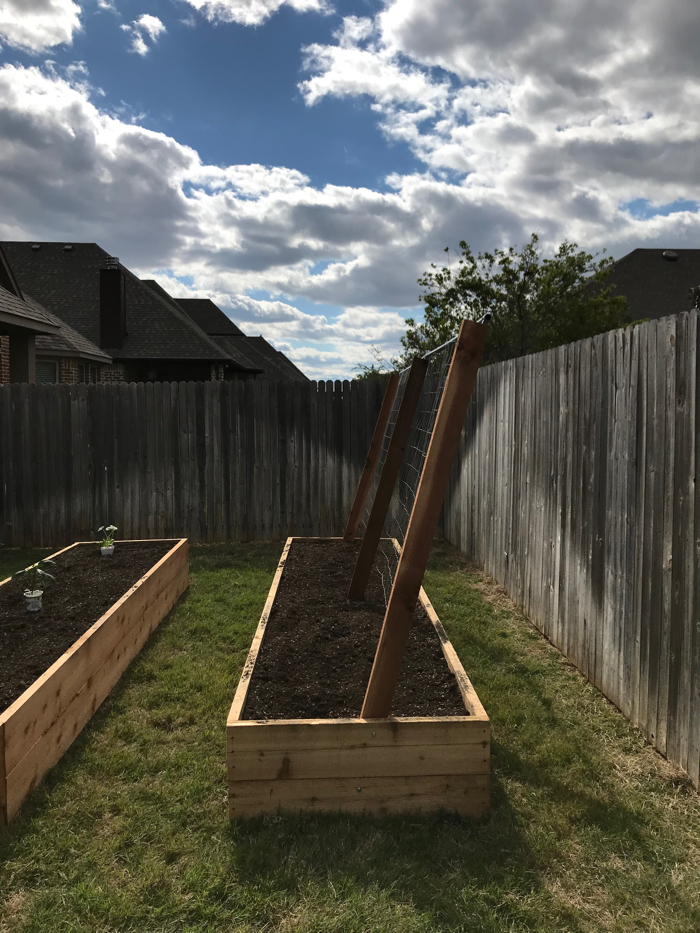
On Earth Day Sunday, as we started our morning, Bonnie mentioned trellis-training her tomatoes to get more production out of each plant. I was in the mood to design, so I started putting together a trellis plan for one of the beds. (We decided against trellises for both beds, as the southernmost bed’s trellis would eventually cast shade on the northernmost bed. As you can see, I really get into designing stuff. So I spent Earth Day morning designing and building the parts list (or bill of materials for you engineering types). Then it was off to Home Depot to get what we needed and back home to build the trellis! Here are some shots of the finished project and a happy Bonnie:
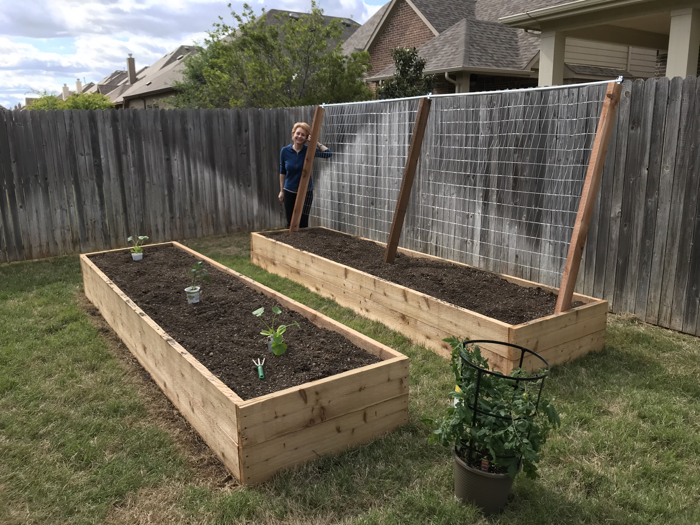
 Next up: fresh veggies!!!
***UPDATE***
After three weeks, we had twelve tomatoes on one bush and then, the predators came. Birds were enjoying my tomatoes before they could ripen enough for my table! We decided to put up bird netting to keep them out of the garden. Bonnie had seen a recommendation, on a gardening blog, for getting the netting from a dollar store. We made the mistake of going to a 99¢ Store. Their netting was hexagonal and stretch so much, it was unmanageable. We tossed that out and I found bird netting on the Home Depot website. It was more expensive (I used about $7 worth of it) and much easier to handle.
Deflector shields UP!
The last step was for accessibility. How does one cover the garden with netting but keep easy access to the garden, for maintenance and harvesting? I knew I would have the two ends’ netting stapled down and not easily removable. The remainder (two long sides and the roof) would be one large sheet of netting (it comes in 14′ X 14′ rolls), draped over the top and hanging down. The issue was how to join the sides of the nets to one another. My youngest daughter, Zoe had just gotten home from her freshman year at Texas Tech, where she is an Engineering major. I asked her, how would you make this easily accessible for your mother. She looked at it for a moment and then said, “Magnets.”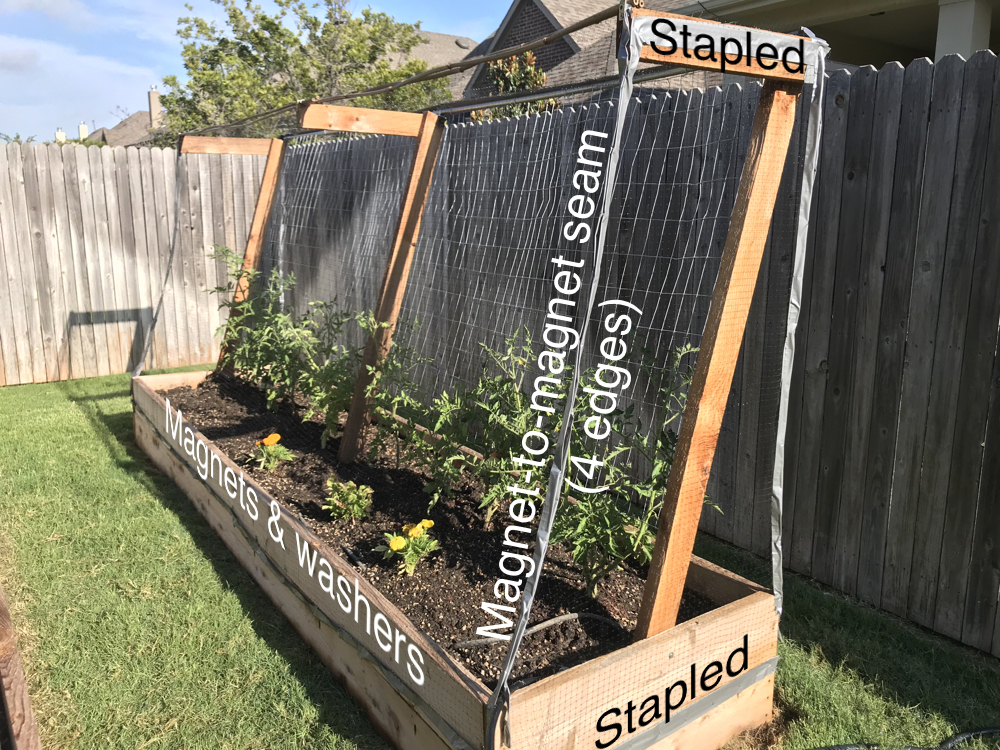 I had not thought of that!
In the photograph above, you can see I used duct tape to create a “hem” along the edges of the netting panels. The two end caps, as I mentioned earlier, are stationary. Inside the duct tape, spaced every six inches, are 1/2″ diameter magnets. Where two adjoining net sheets contact one another, magnets in each hem snap onto one another, when placed side by side. At the bottom hem, where the net has no adjoining net, I attached large washers to the wooden side walls of the garden, to give the magnets there something with which they could attach.
Bonnie picked a tomato and said opening and closing the net was easy!